

Balance for Life: Five Chair Supported Movements to Improve Your Stability and Longevity
Episode 49 is all about balance - literally and figuratively. Your ability to walk briskly, balance on one leg for 30 seconds or more, and get from a seated position on the floor to a standing position with little-to-no assistance, are key indicators for your long-term quality of life. Here are some visual and written cues to help you get started, or improve upon what you already can do. Visit the MYA instagram or You Tube account for a 2 minute video showing these moves in action, (or click the link below). Keep reading and scrolling right here if you prefer still imagery without sound instead. Also, don’t forget to listen to the 34 minute episode here.
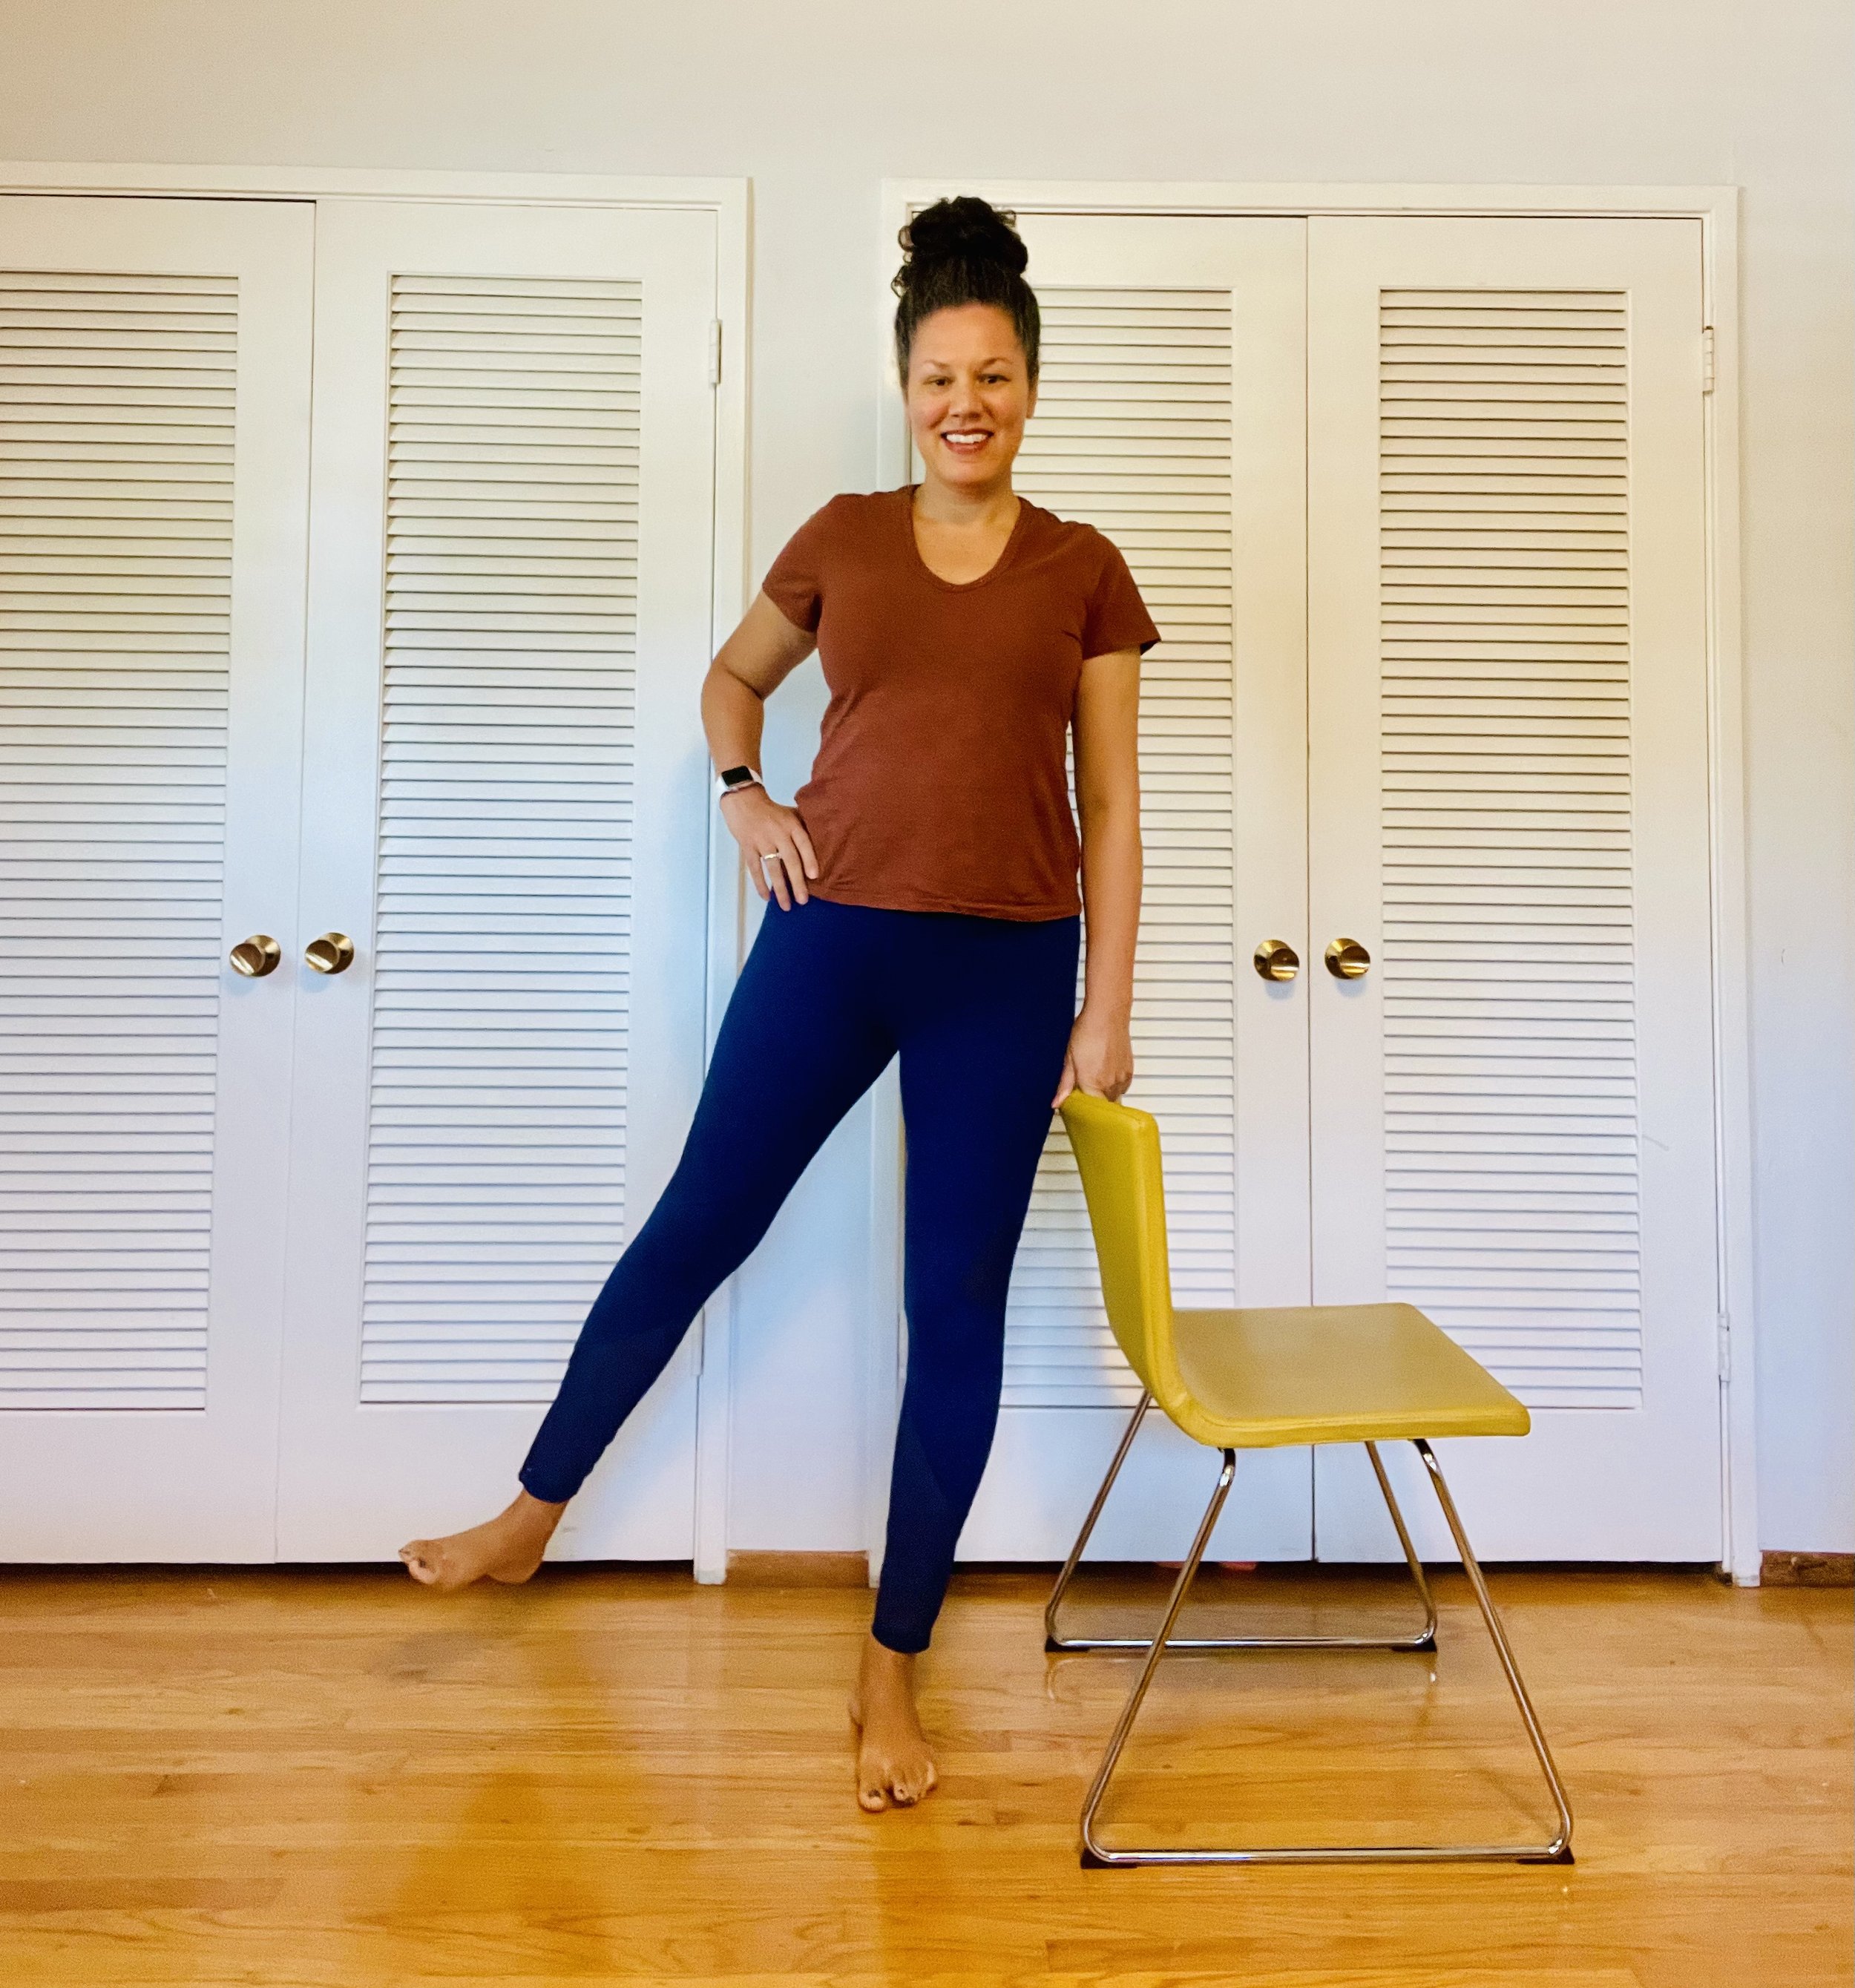
Side-to-Side Leg Lifts
Keep a chair close, but know that you can progress to not using a chair over time. Stand with the chair in front of you, or to the side, and hold on with one or both hands. Lift one leg to the side, trying to keep your body as still and straight up as possible. If you start to lean towards the chair or over to one side, try to come back to center and try again. It might mean that the leg doesn’t go up very high, but that’s ok. The balance work comes in when you can use your core strength to hold you straight up, and isolate that leg out to the side.
Repeat with your other leg, going up to five times per side.
Are you able to steady yourself and stay straight up, or is it harder than you thought? Chances are you feel this up into the glutes and the belly, as the movement engages all those muscles to help you stay upright. If this feels not challenging enough, you can increase the intensity by holding the leg up longer or by trying to letting go of the chair.
Don’t forget your breathing. As you inhale, lift the leg, as you exhale, slowly let it go back down. Try not to do super rapid or pulsing movements here – no one’s trying out for the ballet at this point, we’re just gauging you’re abilities for now.

Single Leg Raise
Grab a chair and stand behind it, holding it lightly with both hands. Lift one leg off the ground, bending the lifted knee toward your chest and stand on that one leg for five seconds. Now, try the same thing with your other leg.
Evaluate whether this is challenging, just right, or you need more. You can help yourself to balance by finding a focal point, something that is not moving in the near distance, to concentrate on, and you can also push the tip of your tongue against the roof of your mouth (Not your teeth! The roof of your mouth).
If it’s too easy, try the same thing using only one hand touching the chair while you lift each leg and then the other. If that still was not a challenge, release both your hands and step back so that you’re not touching the chair at all, or even try doing it while closing your eyes.
Once you get to a stage where you can stand still, lifting one leg high and balancing for at least 10 seconds without holding onto anything for five or ten sets in a row, you’ve achieved an optimal result, so you know what you can work towards. But remember, depending on your unique situation, needing to steady yourself with a chair and one or two hands is also a great result if you can still balance while lifting one leg at a time. Keep trying!

Heel-Toe Tap Walk
Once again, our chair can come in handy here, but this time, we definitely want to keep it over to the side of us, so that we can move forward comfortably. The Heel-Toe Tap Walk is a slow-moving balance challenge where we stand up straight and put one foot directly in front of the other, with the heel of your front foot touching the toes of your back foot. That’s it! Seems easy, but it’s more challenging than you might think.
Keep equal weight on both feet and legs with your knees slightly bent. Hold for 30 seconds, (start with just 10 seconds if you need to) and then switch feet, or simply walk your back foot in front of your front foot.
If this isn’t challenging, you can try letting go of the chair, closing your eyes, or even trying to maintain a forward fold as you step your heel and toe position together. If you feel yourself losing balance, try to flex out your toes to rebalance your foot and stabilize your arch. This is easiest to do in bare feet. Sometimes when we feel our balance going, we compensate by scrunching the toes and the arch of the foot bows outwards. We want that arch to be facing down onto the floor or mat, and all our toes splayed out and all four corners of our feet pressing down.

Chair Pose or Utkatasana
Chair pose is great because it’s basically using your own body weight for resistance, and you decide how intense you want it to be by the depth of your squat. Keep your chair close by in case you need it. Traditional chair pose asks you to put both feet and knees together, so that they’re touching, and for many people that is totally unattainable or simply strains their ankles and low back far too much. So for this I’m going to suggest that you start in a standing position, with feet just slightly wider than hip distance apart, with feet facing forward (not out to the side). Take a deep breath in, and on a breath out star to lower into a squat, and bring your arms out, at shoulder height in front of you.
Hold the pose as deeply as you can, for a short time, or up to 30 seconds. The beauty here is that you can choose the repetitive movement of the squat, or choose to hold, or both. For many people, raising the arms can be too taxing, especially as a beginner. So you can modify by either crossing them over your chest, clasping the hands together behind you or holding them palms pressed together at heart center.
Do you want to stay lowered, or, rise up and down in a series of squats? Either is ok. The longer you stay down however, the more engaged your quads and hamstrings become, sometimes making it harder to get back up easily, which is why it’s a great idea to keep that chair handy, just in case!
If you didn’t find this pose to be very challenging for you, you can always hold onto some light weights to increase the intensity.


Tiger Pose or Vyaghrasana
Moving into Tiger Pose involves us getting down onto our mat, the floor or a carpet. I’d recommend something under your hands and knees as being directly on the floor for this movement might be painful for knees and other joints.
So starting out on all-fours (hands and knees), tiger involves stretching one arm out in front of us, and the opposite leg out back behind us! Sounds simple, but you will probably feel your balance being tested, especially if you’ve never done this one before.
From your position on all fours, reach one arm forward, and the opposite leg back. Try to keep your gaze down, your neck extending long and forward, rather than craning up to look forward. Don’t strain your neck to look where you don’t have to. If this initial reach out is too intense – start with one arm or one leg lifted, until you can feel balanced. It might take some time and some practice to get to the point where you can lift both and be able to balance.
Switch sides and reach your opposite arm forward, and your opposite leg back. Try pressing your lifted heel back as if you were pressing it against a wall, so, keeping the foot flat. This helps to avoid muscle cramps that can sometimes come when we point our toes.
Now try reaching your arm forward, and your opposite leg back on an inhale, and then on an exhale, round your spine and try to touch the elbow of your forward reaching arm, to the knee of your leg that was extended. Essentially, you are touching your elbow to your knee where they meet in the center of your torso somewhere. This can be intense, and at the very least, you may wobble! If you’re new to the practice it might be impossible, or just too soon, but keep trying!

Close your practice with at least 10 breaths in child’s pose (pictured) or in Savasana - laying flat on your back, or a seated meditation position. Allow your body the time and patience to absorb all the movements you just did.
How do you feel?